New Zealand Landscape Photographer Talks Photography Equipment
A New Zealand landscape photographer tutorial
New Zealand landscape photographer Stephen Milner talks photography equipment in is tutorial blog series HOW TO TAKE LANDSCAPE PHOTOS - TEN STEPS TO CREATING SUCCESSFUL LANDSCAPE IMAGES.
For a list of landscape photography equipment that I use, please check out My Gear List.
When I plan my landscape photography trips, the two aspects I consider the most are light and composition. There is a trip planning process that I go through that investigates potential subjects to understand when will be the best time to visit a location. If you haven’t already done so, I encourage you to check out my tutorials on light and composition and trip planning because they are essential to study before choosing your photography equipment.
In this tutorial, I will share how to choose the best photography equipment for your needs.
UNDERSTAND YOUR NEEDS VS WANTS
Most photographers desire the latest camera with the largest sensor and the fastest lens. Even though they bought the new and best camera equipment last year. There is nothing wrong with chasing a new piece of equipment because its latest features will be adding to your photography toolkit. However, if those new features do not strengthen us as photographers in our foreseeable workstream, then perhaps they are not required at this point, and our current setup is more than capable. When it comes to purchasing new photography equipment, the ultimate questions that you should be asking your selves are:
-
What is your intended audience?
-
How will they view my images?
-
What are the location conditions?

If you have never thought about this before, I recommend that you spend a few minutes thinking about it now and write your answers down.
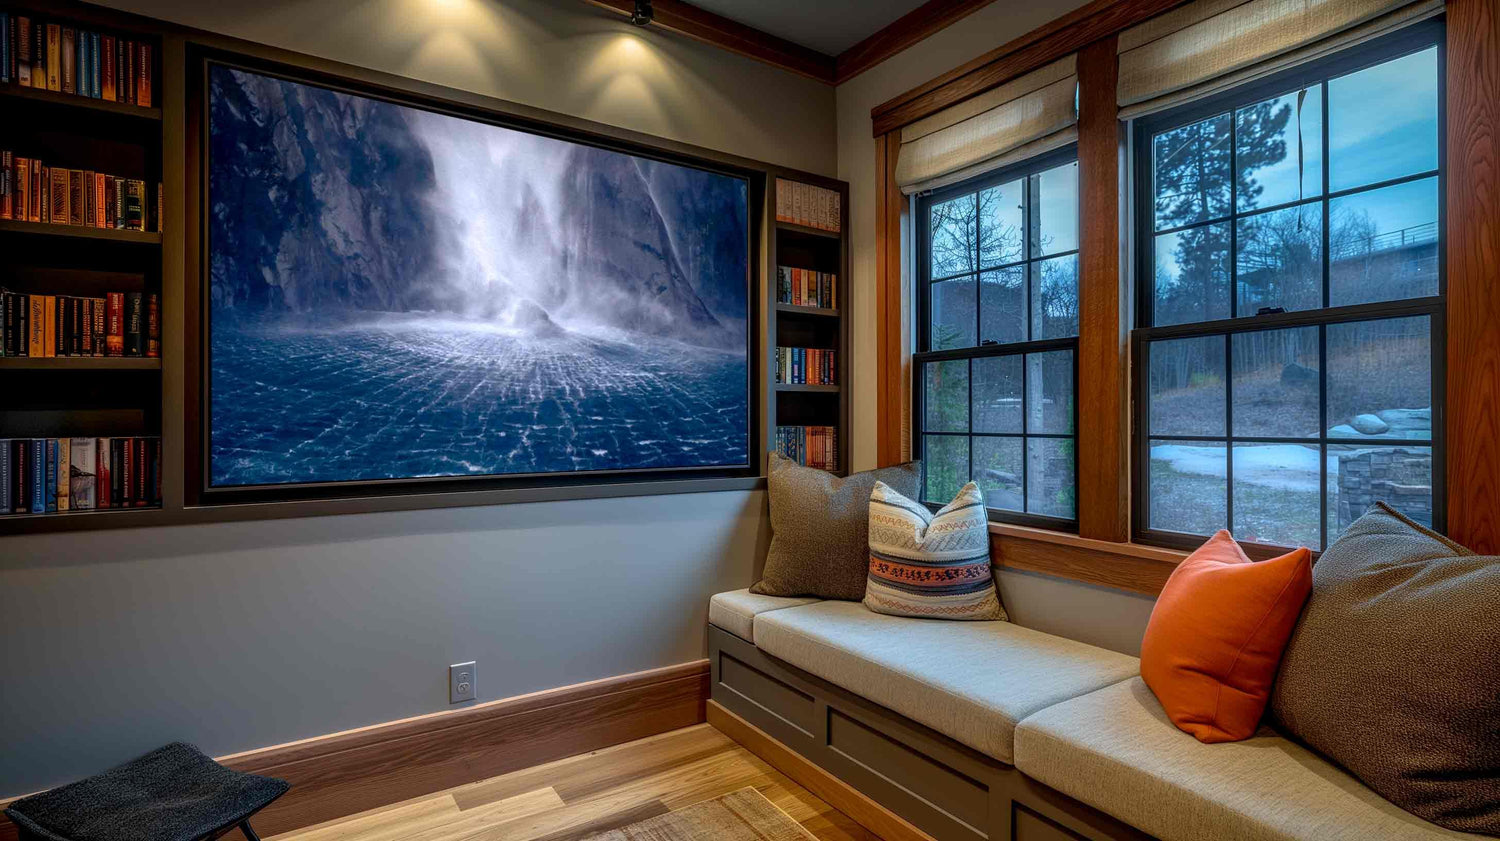
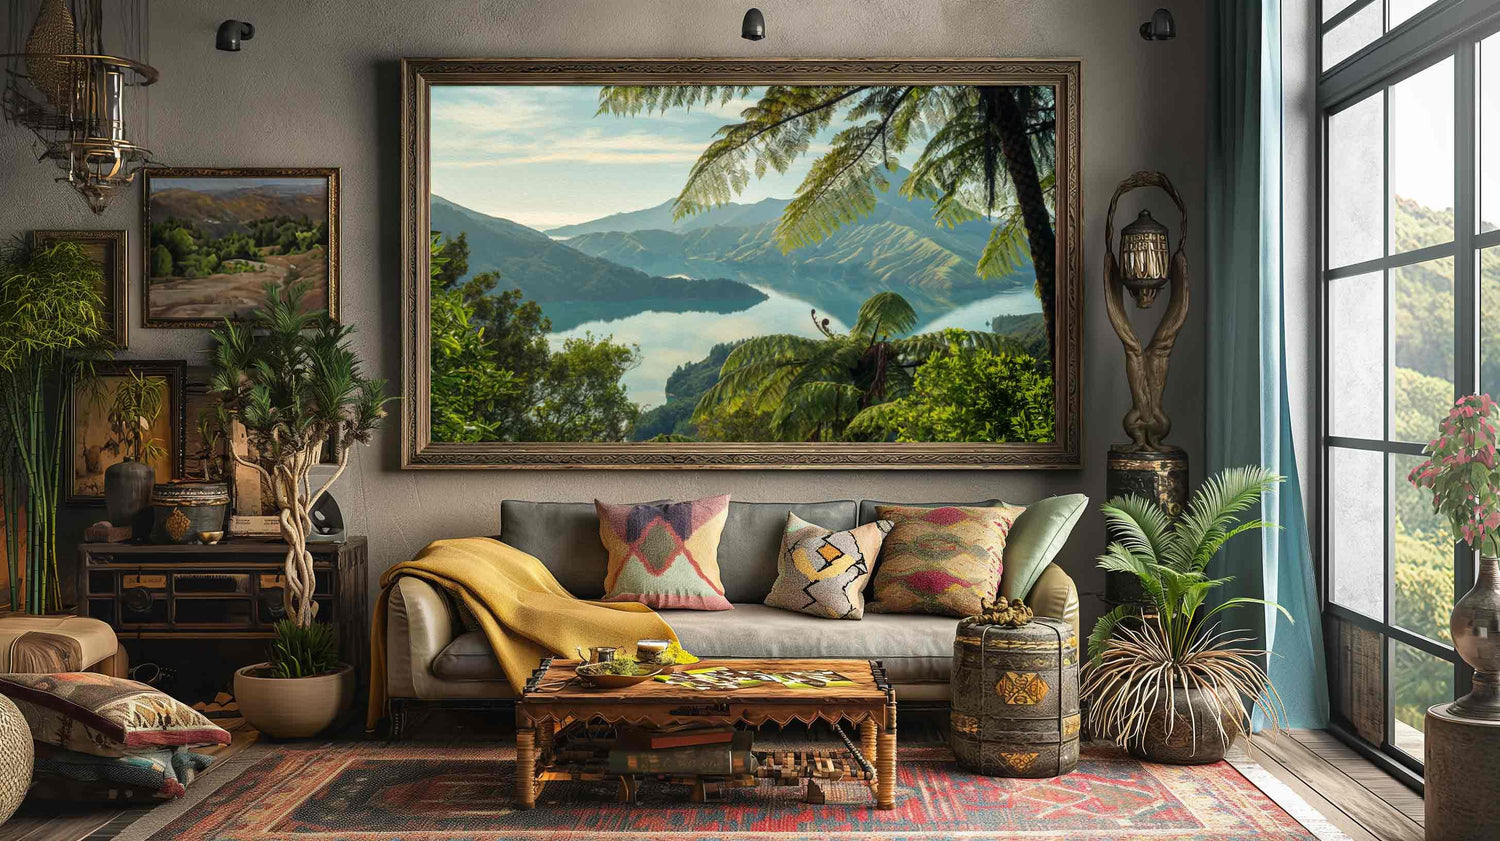
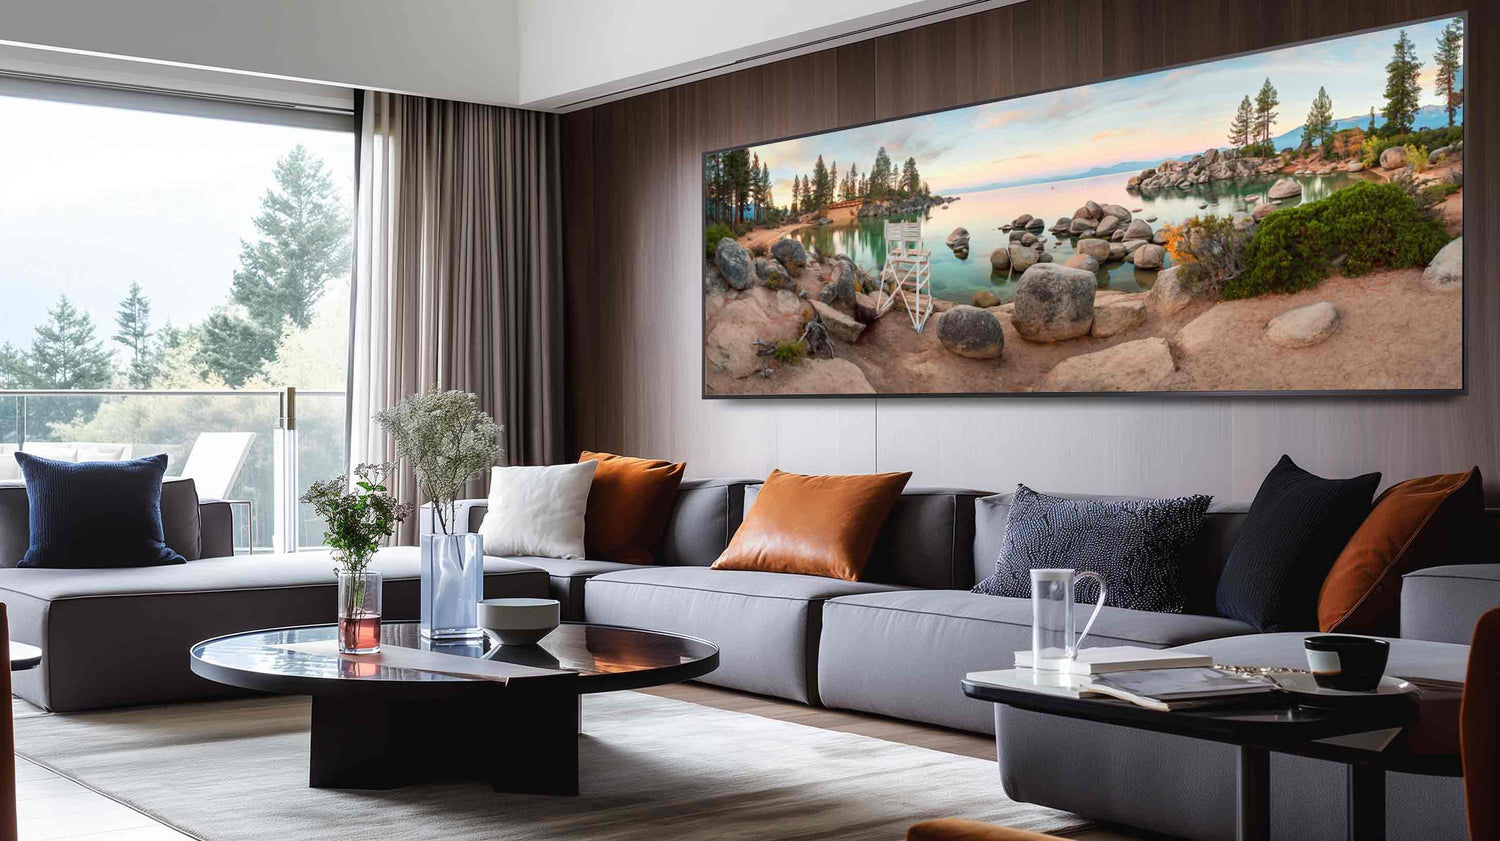
To put this into perspective, the best camera to take a picture that is only looked at on a mobile device like a smartphone or a tablet is a decent camera phone or a high-end point and shoot camera, and a cropped sensor camera or full-frame camera is a waste. However, if our images will be printed and displayed as a piece of artwork in someone’s home or a gallery, then a high end cropped or full-frame camera is ideal. Photographs displayed on large signboards will require a large sensor from a medium format digital camera. Whilst this is subjective, and there are other reasons for choosing the type of camera, I hope you see the point I am trying to make.
The equipment we use are tools in our creative toolkit, and the best tools we should own are the ones that facilitate our creativity based on our current skill level.
Skill Level vs Expectations
When it comes to skill level, I recognise two sides to this. One side is our creative skills, and the other is our technical skills. Both are very different but are connected, and in normal circumstances, are developed at the same time. Before purchasing new photography equipment, not only should you answer the three questions that I noted above, but it is also essential to reflect on where we are in our creative and technical journey. It is worth spending a few minutes reflecting on how many years you have dedicated to improving your creative and technical skills. If you have not done this before, I recommend you write it down and give yourself a score out of ten for both. I am asking you to do this because, in my experience, some photographers focus more on their technical skills. After all, there can be a perception that the best photos only have the perfect technical application.

Whilst the technical application is essential, so is building our creative skills through learning and practice. To give you an idea of what you should be aiming for, consider that 10,000 hours are required to master something, and if you dedicated three hours per day, it would take you nine years.
The development of our creative and technical skills take time to build up. The tools that we carry do not make the photographer, but they do facilitate your photography creativity. Consider this scenario; two photographers are shooting the same mountain vista on the same day at the same time. One photographer has two years of experience and has the latest mirrorless medium format camera with the best prime lenses. The other photographer has ten years of experience and is using the latest camera phone. Which photographer would you put your money on to create the most compelling image?
It is essential that you invest some of your time in improving your creative skill before you invest in the latest new camera and lens.
FREQUENCY OF USE
After my first year of photography, I decided to upgrade my existing micro four-thirds camera equipment. I convinced myself that I had to have the latest full-frame camera and the best lenses available so that my pictures would get more attention on social media.
Well, it turns out my strategy was wrong, and it did not work. I spent most of the money on this equipment, and I had no money left to travel to the landscape that I dreamed of visiting to use it. My expensive new equipment spent most of its time in my camera bag in the cupboard. In the end, I sold it and bought a cheaper camera, and I had some spare money to travel to places I had not been to before.

From this, I learnt two important lessons. The first lesson was that buying the best camera equipment did not improve my creativity shortfalls. The second lesson was that spending money on equipment that was not the best for me stopped me from practising my creativity because I had no money.
PERFORMANCE
As a landscape photographer, the performance levels of my equipment that are the most important to me are; high-quality images that are efficient to edit; reliability and robustness; weight; ease of use; and affordability. For my camera and lenses, I get all of what I need from the Mamiya 6 film camera and the 50mm, 75mm and 150mm lenses that I own. If I go on long-distance walks, the only items of my equipment that I would consider upgrading are the items that will reduce my pack weight. Material advancements and manufacturing capabilities are constantly improving. Photography accessories like tripods and filters are getting lighter, and so are items of clothing.

Before you buy your next piece of photography equipment, you should take a moment to consider what performance levels do you need. Performance requirements to consider include but are not limited to the following: image quality; reliability; robustness; weight; ease of use; speed; weatherproofing; serviceability; availability in your area; reputation; residual value; portability; colour science; file formats; aspect ratios; and, lens options.
Weight vs performance
With photography equipment, there is a fine line between weight and performance. It is essential to consider the locations you will photograph and the effort required to get there.
For landscape photography, I will always recommend buying the lightest equipment possible with the best image quality. Lightweight equipment will help the significant effort to get to a location be easier.

It is essential to consider how the viewer will look at your photographs from a quality perspective. You will be carrying an unnecessary load in your backpack if you plan to travel to a remote location with a medium format camera to take photos for social media only.
Camera Equipment
There are many camera equipment options with different specifications, performance levels and prices. At one end of the scale, there is phone photography. A camera phone is an option for travelling light and if your photographs are for viewing on mobile devices. Camera phones of today have come a long way since their creation, and they are now capable devices.

Along with their development, the development of apps and accessories have come a long way too. Camera apps like ProCamera and Halide for the iPhone or Camera ZOOM FX and Moment Pro Camera for Andriod allow you to take control of the camera in your phone, including shutter speed; ISO and JPEG or RAW settings. Accessory companies like Moment, Godefa and Ubeesize provide detachable camera lenses, filters and tripods so that you can professionally use your camera phone.

At the other end of the scale, there are professional medium format digital camera options like Hasselblad, Phase One, Pentax and Mamiya. In the last few years, Fujifilm surprised everyone with the release of their new medium format camera.
In-between camera phones and professional medium format cameras are point and shoot type cameras like the Sony RX100 VII to cropped sensor mirrorless cameras like the Fujifilm XT-4 or full-frame cameras like the Canon EOS R or the Nikon D850.

Finally, and for what some consider the purists, there is film photography. Film photography is still going strong and remains very capable, especially in the medium and large formats. Film manufacturers are realising new films or re-releasing old films. Many photographers are returning to film because of the connected feel it gives you. Photographers purchase old 35mm film cameras like the Leica M6 or even the modern version like the Leica M-A, or medium format cameras like the all mechanical Mamiya RB67 or the Hasselblad 503CW, and large-format view cameras like the Arca Swiss 8x10 Classic or the Linhof 4x5 Technikardan. The sale price has started to increase for some old second-hand film cameras. The only new film cameras today are large-format cameras, the Leica M-A and the Leica MP.
CAMERA SPECIFICATIONS
When it comes to camera specification, my advice is to identify a selection of cameras that you think might be suitable for your needs. Note their specifications relative to your actual needs and performance requirements and highlight the features that match them. If you are not sure what some of the features are, don’t worry because it is highly likely that you will not need them. Once you have finished, hopefully, one of the cameras you are considering matches your needs and performance requirements. If you find that most of the specifications and features of the cameras you are considering do not match, you may need to refine your selection.

LENS OPTIONS
There are two options for lenses. One option is a prime lens, and the other option is a zoom lens. Just like cameras, there are various options for both, at different specifications and prices. Most landscape photographers use lightweight zoom lenses unless the system that they are using offers prime lenses only. The three most popular landscape photography zoom lenses are the super wide-angle zoom, a mid-wide-angle to mid-telephoto zoom and a long telephoto zoom. Most camera manufacturers will make these, and you may want to look at 14-24mm options, 24-70mm options and 70-200mm options. Some landscape photographers will carry one prime lens like a 12mm f2 for astrophotography.

In terms of the lens f-stop range, most landscape photos are between f5.6 and f16. It is worth keeping this in mind when you are choosing your lens. Lens manufacturers will offer the same length of a lens with different f-stop options. The bigger the f-stop range cameras, the bigger the price point and the weight.
Most zoom and prime lenses have autofocus, and some have built-in stabilisation. Most landscape photographers prefer to retain control when focusing their lenses and will use manual focus. They will shoot from a tripod because they will be shooting in low light conditions.
When you decide whether you buy a prime or zooms lens, you must consider how you will use them, personal preference and cost. Studio photographers prefer to use prime lenses because they will have more than one camera. Studio photographers require high-quality images, and they work in controlled environments. Photographers that work in the field like landscape photographers tend to gravitate towards zoom lenses because they save weight and time. They might carry one prime lens for the focal length that they use the most. Sometimes, there is no choice because the manufacturers only made one or the other for their cameras. For example, some older professional film camera manufacturers made prime lenses only.
I recommend that you think carefully about your lens choices, and it is worth spending the majority of your money on lenses instead of a camera (cameras change often). Lenses produce the image on your cameras sensor or film plane and play a role in the quality of an image. Lens reputation is worth investigating before you purchase one.
Tripods and Ball Heads
When you are buying your tripod and ball head, it is essential to recognise that your photographs are only as good as the foundations that they sit on. The quality of your camera equipment is only as good as the quality of your tripod and ball head. When I quality, what I mean is the stability of your tripod and ball head. Your tripod and ball head is the one piece of equipment that I recommend you consider upgrading now if it’s unstable. With tripods, there are plenty of manufacturers and options to consider. I recommend you pick a manufacturer with a good reputation and offers a warranty greater than five years. Tripods are available in various heights and aluminium or carbon fibre. If low weight is essential, I suggest a carbon fibre tripod and make sure it is stable. I suggest picking one with eight carbon fibre layers or more. For stability purposes, I recommend a tripod with three sections to each leg only, and this will save you time when you are setting it up. For the tripod height, it depends on how you will use it and your weight requirements. My tripod is 180cm high, and it is more than adequate. For the ball head, make sure it will hold the weight of your camera and your heaviest lens together.

Camera FILTERS
Most landscape photographers will use filters. I use them in my workflow, and I have a polariser, natural density filters, graduated natural density filters and UV filters. The quality of filters is essential to consider. I recommend you buy the best filters you can afford. There is nothing worse than having the best camera equipment and, you use poor quality filters in front of your lenses. The best filters available are made with Schott Glass, have multiple coatings, and are without any colour cast. The filter brands I can recommend from my use are the Firecrest range by Formatt Hitech, Nisi and B+W.
In terms of the application of the filters, the polariser is for removing glare, adding more contrast and saturation. Use caution when using a polariser with a wide-angle lens on clear sky days because you can get some strange banding in the sky. The natural density filter is for long exposures when you want to smooth out water or the sky. Graduated natural density filters are for controlling bright areas in your image, which is the sky. For UV filters, I use them as a protection layer for my lenses and protection of my film when I am shooting with my film camera.

Filters are external glass camera lens accessories that are purchased separately from a camera and lens. Some digital cameras have a built-in natural density filter. External glass filters are attached to the camera via the lens using the screw thread at the end of the lens barrel. Most camera lenses have a screw thread but, they are not all the same size, and they are available in diameter millimetres (67mm; 72mm, etc.).
There are two types of filters; one is a screw-in filter that attaches directly to the lens; the second type requires a filter holder that screws into the lens and can be used to hold a polariser, ND filter and graduation ND filter, and all at the same time if required. The Polariser, ND filter and graduation ND filter are available for both types. The screw-in type should have a thread size that matches the thread size of your lens. The filters that require a holder to attach them to your camera lens come in three different widths (75mm, 100mm and 150mm), and they should be chosen based on your camera’s sensor size and your widest lens. Generally, the bigger sensors (35mm and medium format) combined with a wide lens that has a large filter thread size (>72mm) require 150mm. Most landscape photographers will use the 100mm system because they work well with most cameras and lenses. The 75mm system is a good choice for rangefinder a camera and sensor sizes smaller than 35mm.
There are advantages and disadvantages to each type. The screw-in filters are more compact and lightweight, less expensive, are more inconspicuous; but, they are limited to their thread size, which means you may have to buy the same filter in different sizes to suit the thread size of your lenses, or you will have to use step up and step down rings. The screw-in graduated ND filters have the graduated ND filter to the middle of the lens, which means they can not be adjusted to suit your composition. Screw-in filters are stacked but, if too many are stacked, vignetting might become a problem. The filter holder systems are bulky, they are not inconspicuous, and they are expensive. They are more flexible and take multiple filters at once. The graduated filter is adjusted in the holder to suit your composition. The graduated filters are longer than the ND filters. They e moved up and down to match the position of the horizon in your photo composition.
Some photographers who have digital cameras choose not to use graduated natural density filters. Instead, they will make multiple exposures at different brightness levels. Then blend them during post-processing using the high dynamic range (HDR) or luminosity masking features of their software. The choice of filters vs the bracketing approach is a personnel preference. I like to get my image as close as possible to how I expect it to be whilst I am out in the field with my camera and filters. Plus, I mostly shoot film at and exposure blending with the film is not easy.
CAMERA BAGS and travel cases
There are many options for camera bags and travel cases. Camera bags are available in different sizes and configurations. Before you buy a camera bag, it is worth putting some time into thinking about where you will be travelling and with what equipment. Typical questions that you should ask yourself are:
-
Will the camera bag need to carry photography equipment and other items like clothing, a computer or a tent?
-
Do you need to access your camera equipment quickly?
-
Do you want the bag to operate as a workstation?
-
How will you be travelling and, what are the vehicle restrictions?
-
Will your camera equipment need protection from weather or bumps and knocks?
-
How long will you be wearing the bag?

Rest assured, there will be a camera bag out there that is perfect for your needs. I have two camera bags, one is for day trips, and it is the F-Stop Tilopa 50L backpack, and the other is for multi-day backpacking, and that is the F-Stop Shinn 80L backpack. I chose the F-Stop Gear brand because they build versatile, robust and comfortable mountain series backpacks. They are modular in design and have different sized removable protective cases called ICU’s. The ICU’s access is from the back of the camera bag, and that is important to me as a landscape photographer because I use my backpack as a workstation on the floor.
SD CARDS
SD cards store all your hard work on them, and there is nothing worse than having one fail on you. My advice is that you buy one from a well-known manufacturer like SanDisk, Lexar or PNY. If your camera can take two cards, then obviously buy two and use one as a backup card. SD cards come in different memory sizes and speeds. You should pay attention to the recommendations from your camera manufacturer in terms of memory size vs camera file size to determine suitability. If speed is essential, I recommend you buy one with the fastest read and write speed.

Computer and Monitor
To view your images and edit them then you will need a decent computer and a monitor. There are lots of options out there to consider. As you will already know, technology changes quickly and my advice for computers is to buy the best you can afford. In terms of the specification, I recommend buying something with a large solid-state hard drive, the best processor you can afford, a decent graphics card and the most RAM you can afford. An SD card reader and a selection of other connection types like USB and HDMI will be essential. When it comes to the operating platform, you are a PC user or an Apple user. If you are looking at buying an Apple computer, they will come with great monitors. Apple displays are too glossy for editing landscape photos, and an Anti-Glare Matte Screen Protector Filter is used and is essential if you will be printing your work at home. If you are a PC user with a glossy screen, I recommend a similar Anti-Glare Matte Screen Protector Filter. An alternative to applying a filter to your screen is to buy a dedicated photography monitor.
If you edit or print your images, I highly recommend that you purchase a screen calibration device from either X-Rite or Datacolour. The screen calibration device is essential for your printed photos to match what you see on your computer screen.

Editing Tools
Most landscape photographers will edit their photos on their computer, and the software of choice is either Adobe Lightroom and Photoshop or Phase One's Capture One. There are other options out there, and there are some free options. I have never used Capture One, and I cannot offer advice except the software is purchased through a subscription or one-off payment for a licence. I have used Adobe Lightroom and Photoshop extensively, and it is capable. Adobe only offers a subscription service, you have to sign up for a year, and you will pay either yearly or monthly. Once you cancel your subscription, you can no longer use their software.

PRINTERS
There is nothing better than printing your images on high-quality paper and holding them in your hand. If you plan to buy a printer, I recommend you look at the professional photography printers from Canon or Epson. Canon offers the Pixma Pro 10, 100 and 1000. Epson has the SureColor P400, P600 and P800. I have never used an Epson printer but, I have used a Canon printer.
My printer is the Canon Pixma Pro 1, and this was replaced by the Pixma Pro 1000. This printer produces admirable results. However, it takes twelve different ink cartridges, they are expensive, and the Pixma Pro 1 has a start-up procedure that results in excessive ink waste if the machine is not in use often. The newer versions of these printers have fewer inks and improved anti-clogging technology that does not waste as much ink.

LONG TERM VS SHORT TERM VIEW
When it comes to price, I will always take a long term view over a short term view, and whilst I have emphasised that you should consider your needs vs wants carefully, I encourage you to do the same. I would rather spend a little bit more money on a high-quality product that I know will last me longer and comes from a manufacturer with a good reputation and support service. However, I take a reasonable approach and do not lose sight of what my actual needs are.

In this blog, I have explained my approach to selecting landscape photography equipment. I hope that you can use this information as a reference point for your own equipment choices.
Reliable equipment is essential, and it should help us be more creative. However, equipment is only as good as the creativity of its holder. With this in mind, the essential tool in your tool kit is your creative skill and your ability to visualise your images well, which is worth investing an equal amount of time and money.
The next time you are thinking about upgrading some of your equipment, I encourage you to pause for a moment and ask yourself do you need it. Can your money be spent on travelling somewhere you have not travelled to before, a workshop, or an online course that challenges your creative skills?
I hope you have enjoyed reading this blog, and I hope you have taken something away from it.