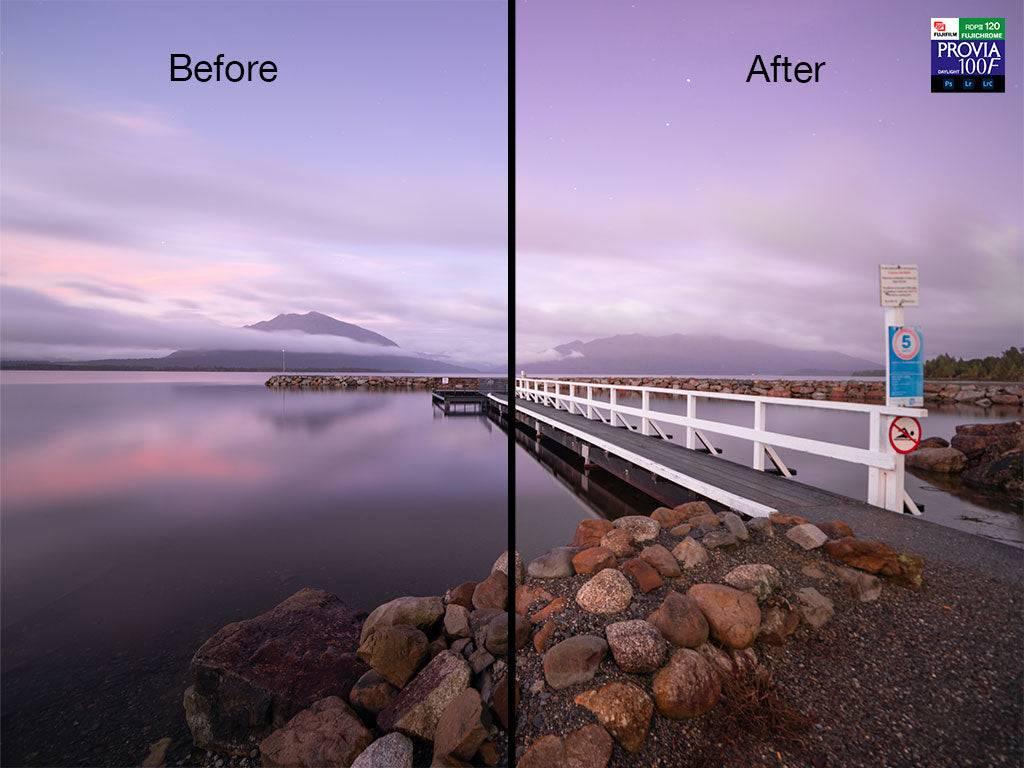
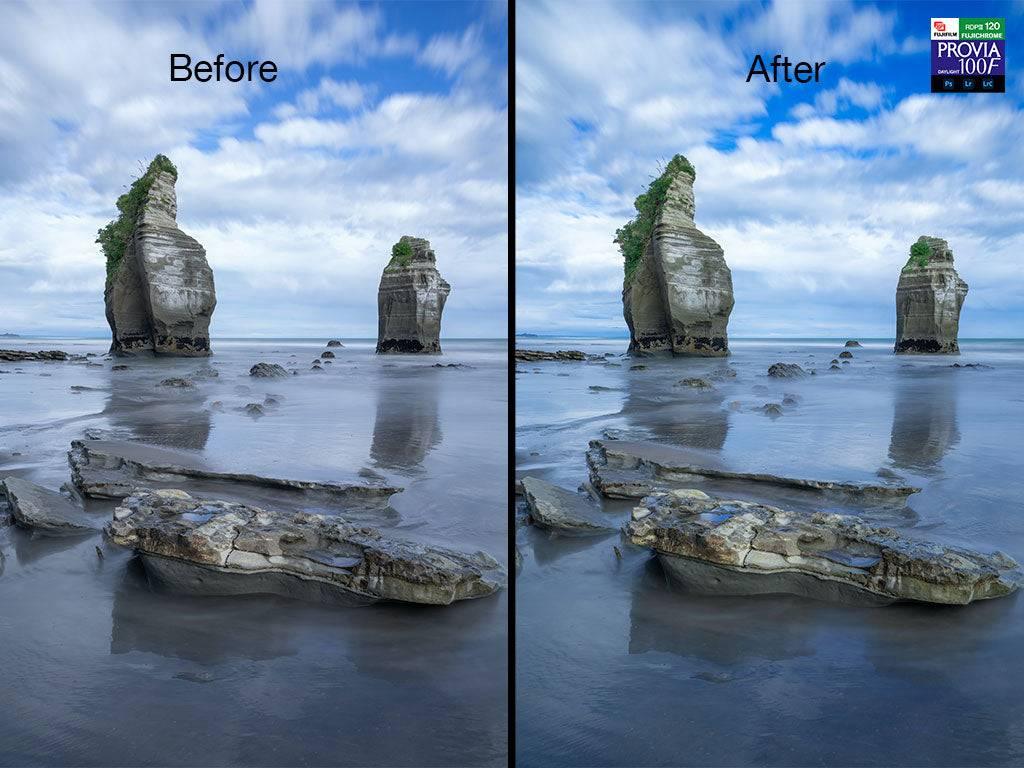
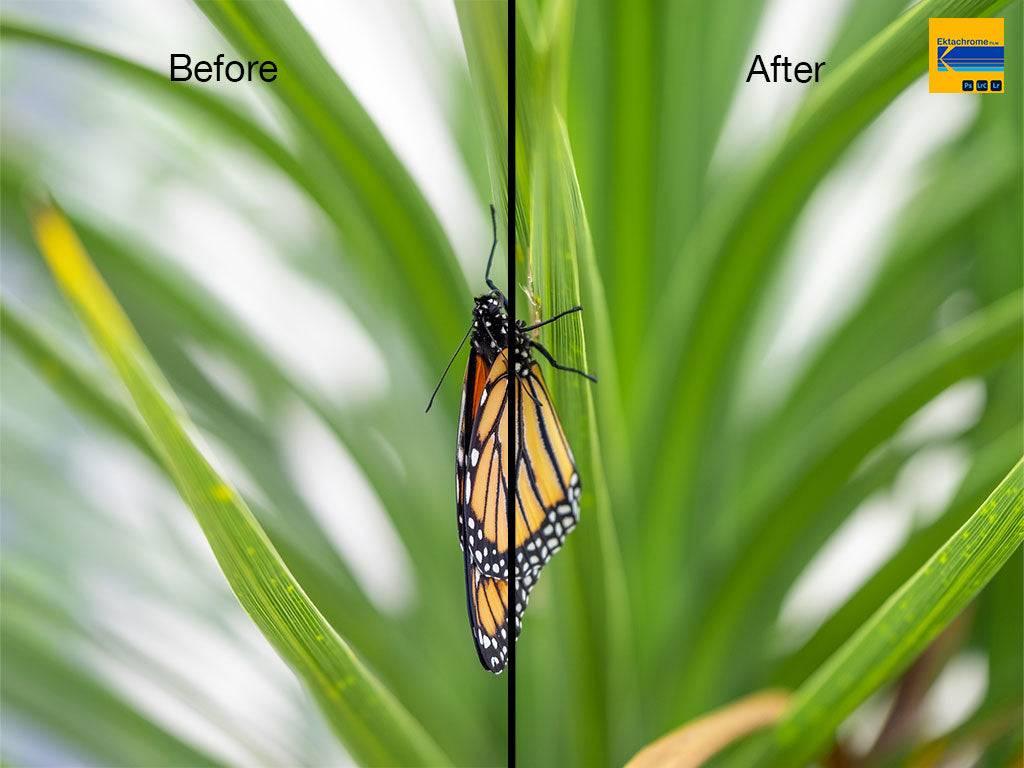
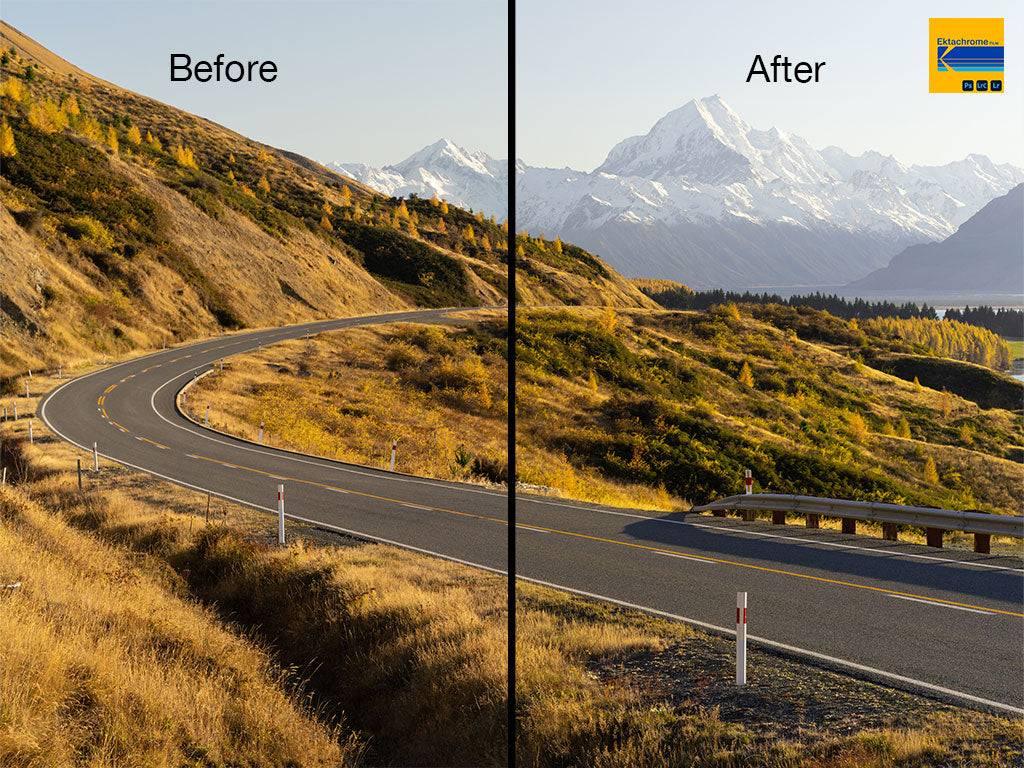
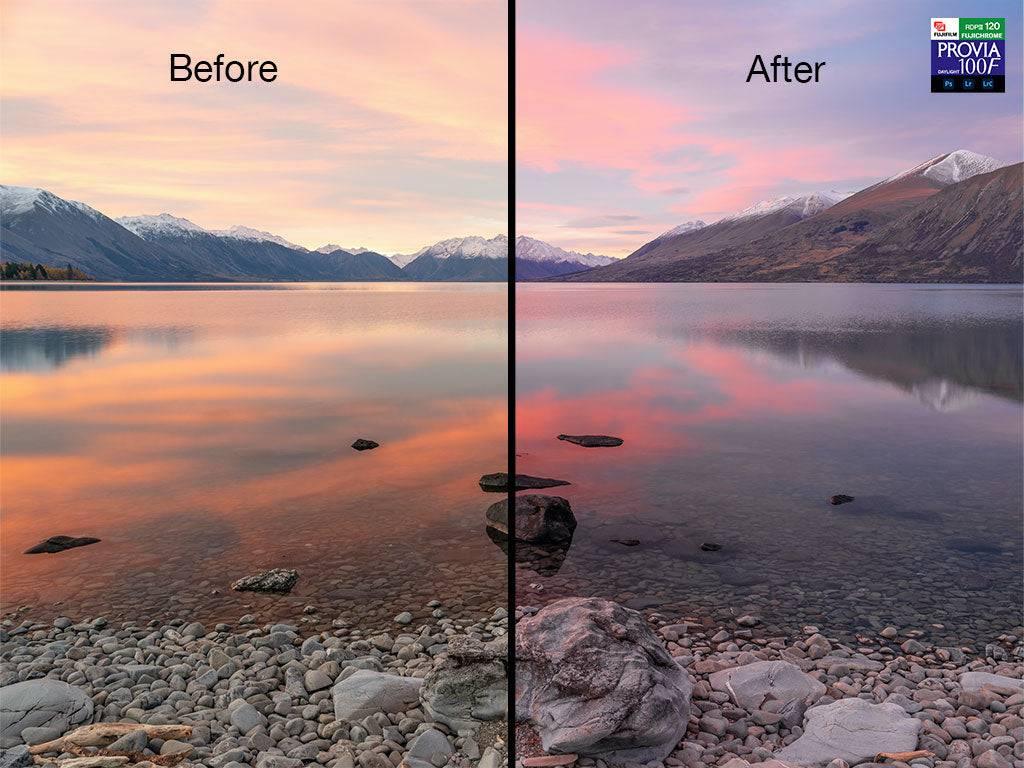
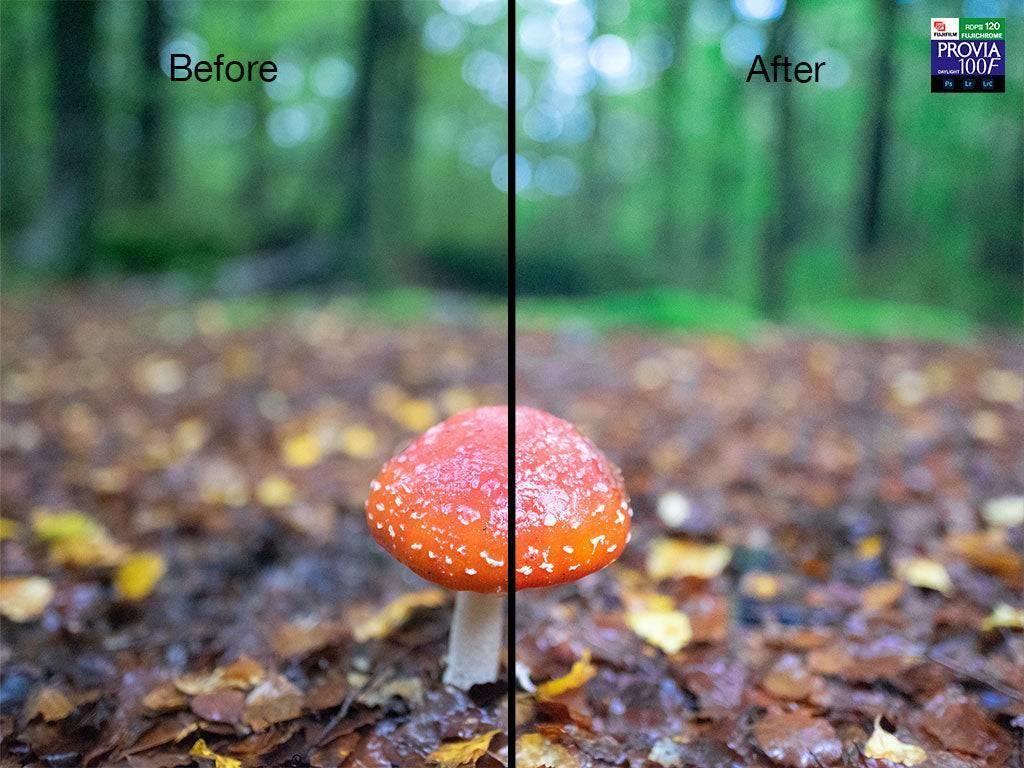
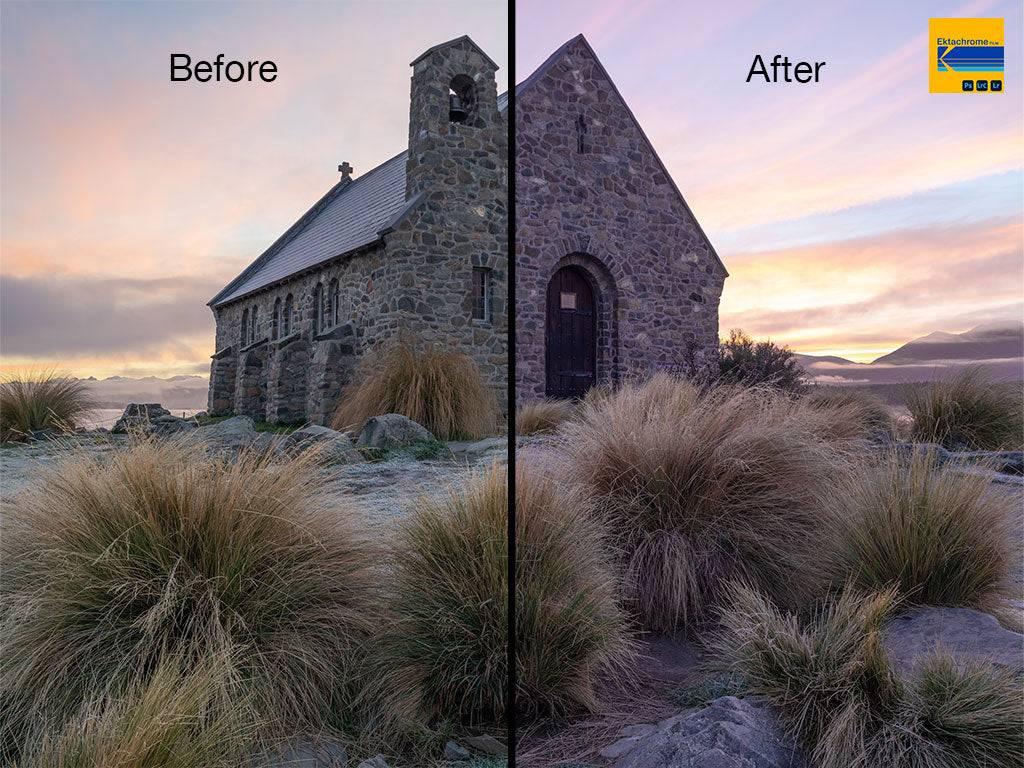
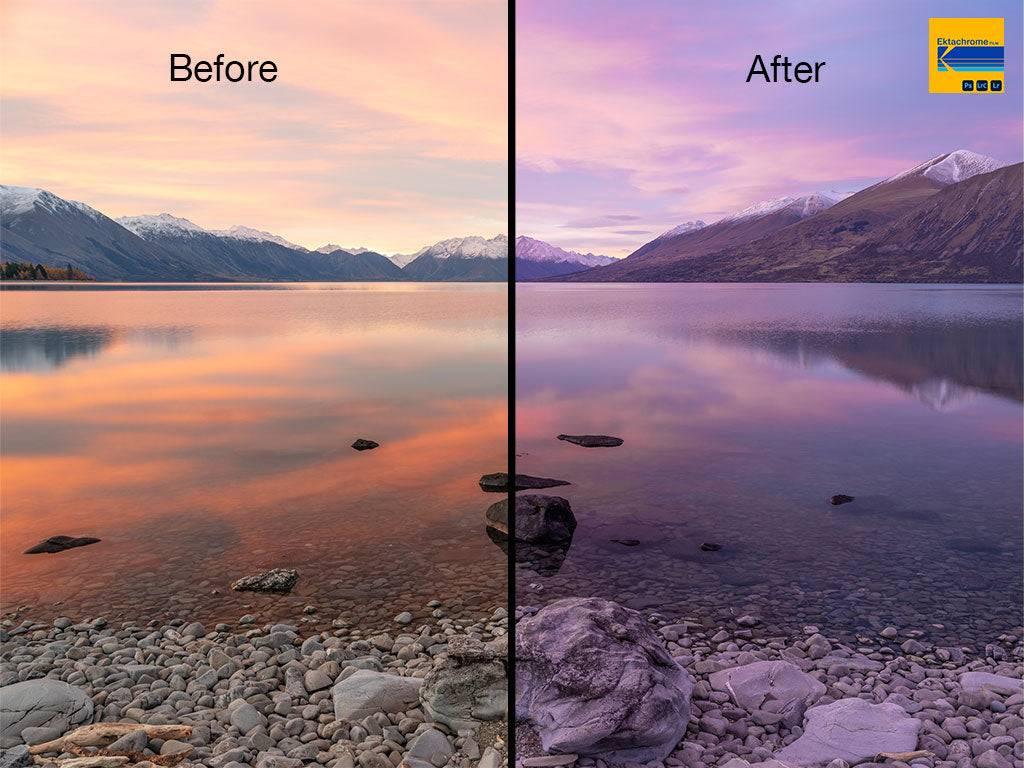
Purchase these preset and enjoy the beautiful colours of
Velvia, Provia and Ektachrome film in your photos.
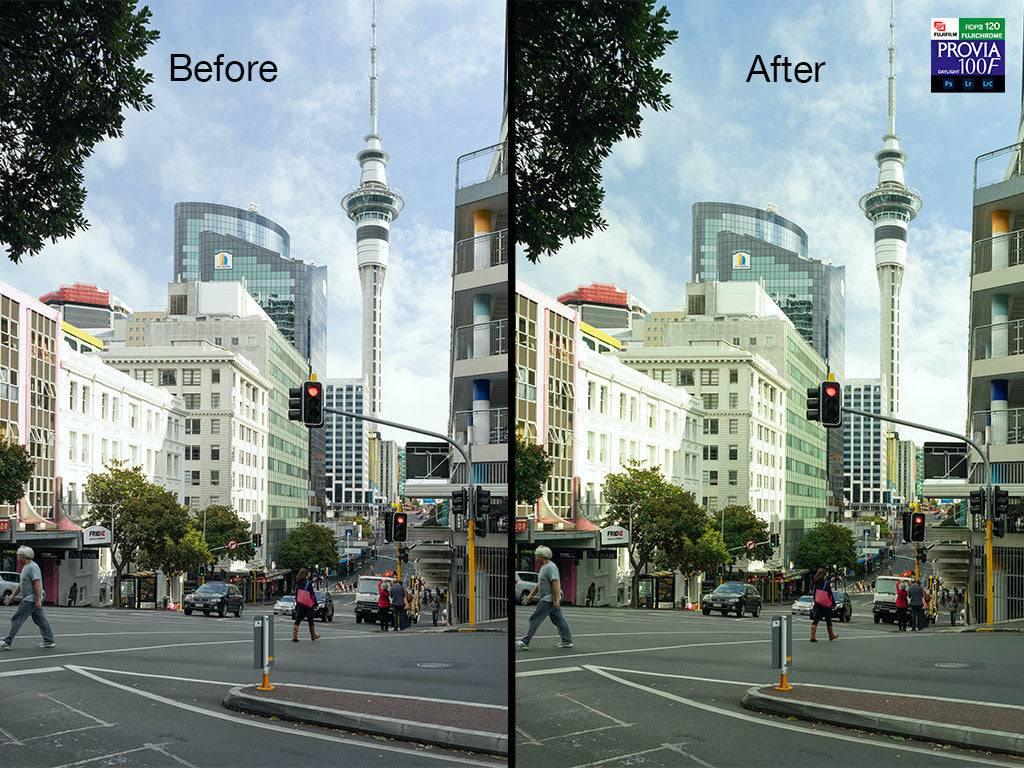
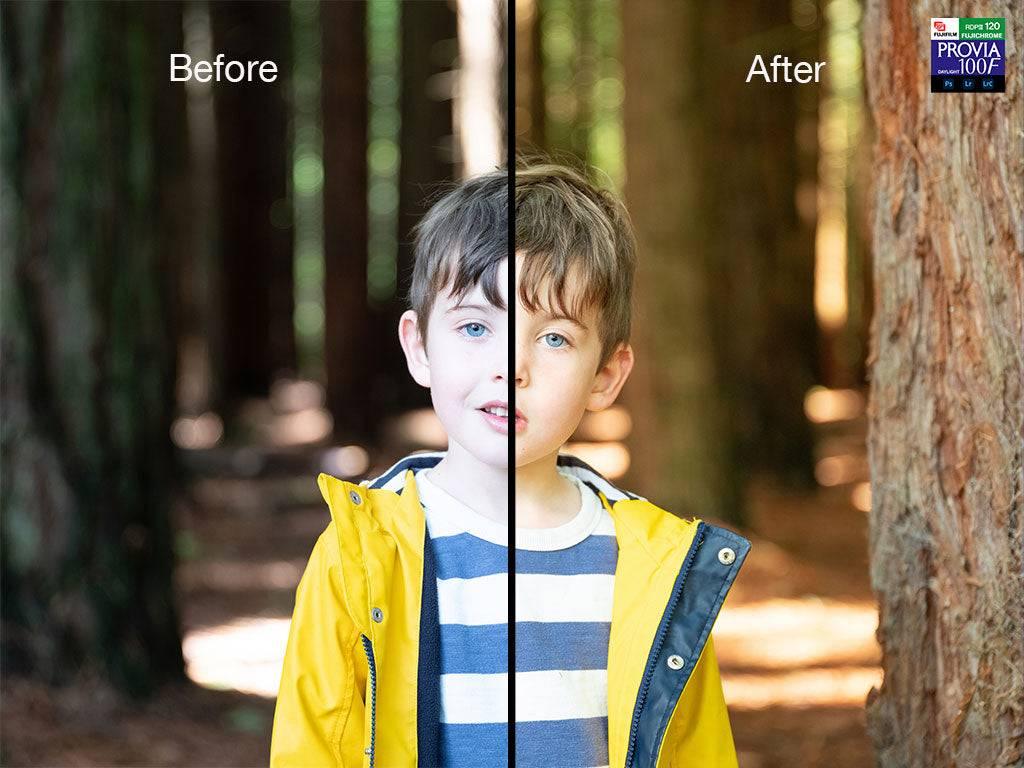
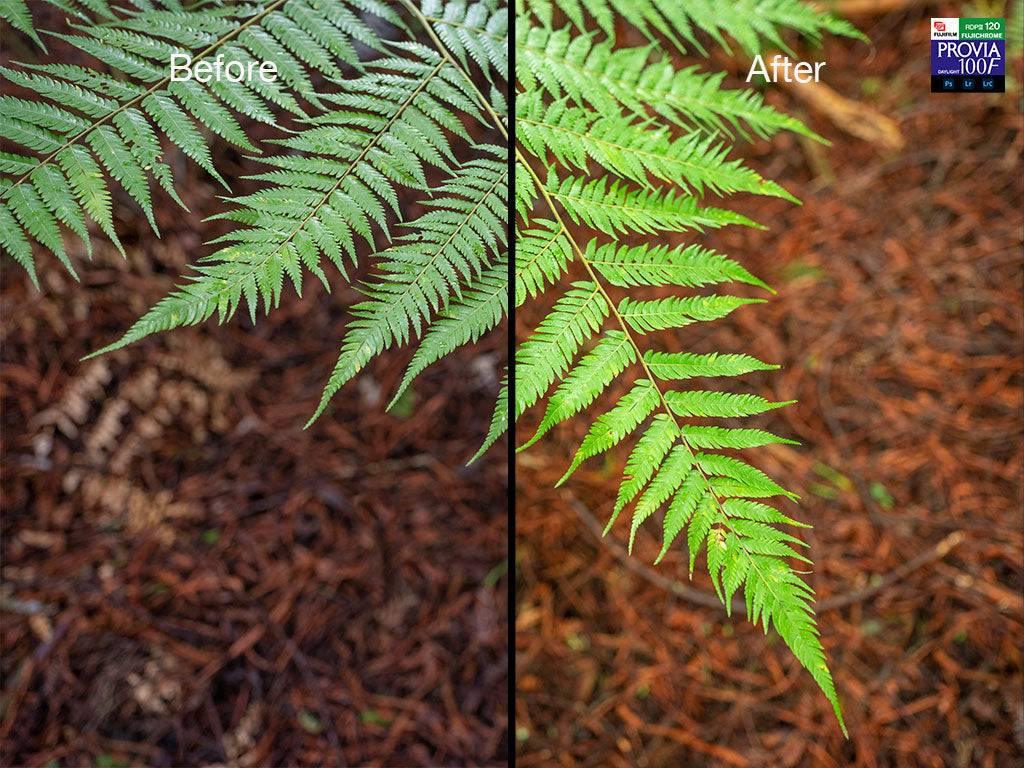
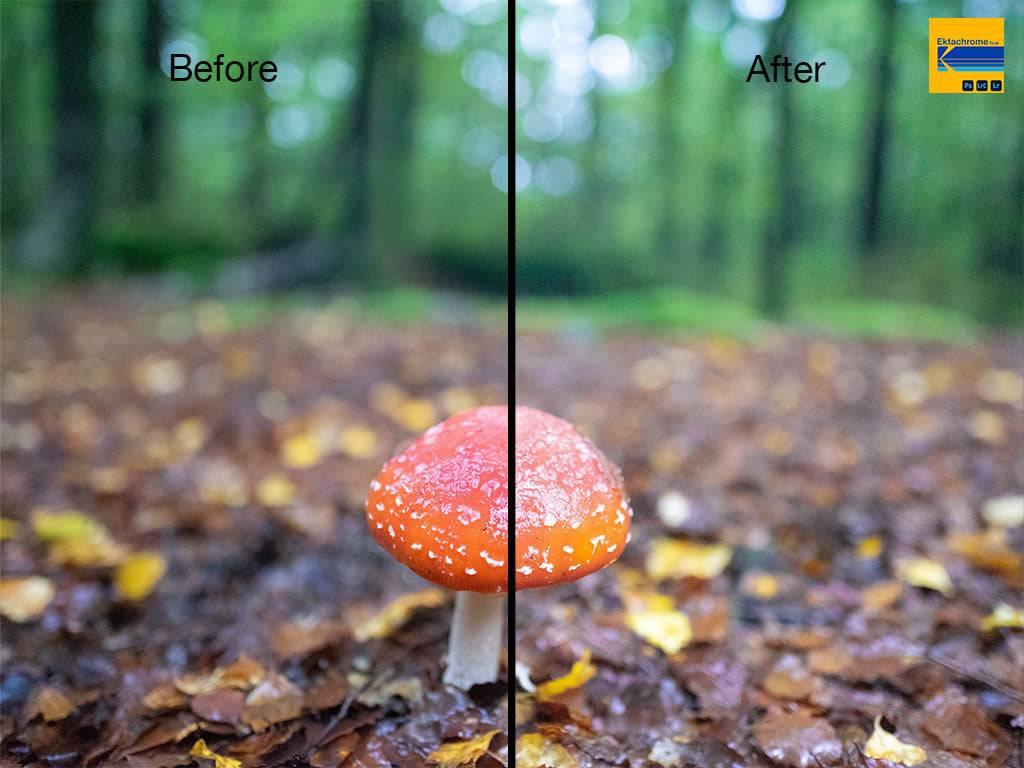
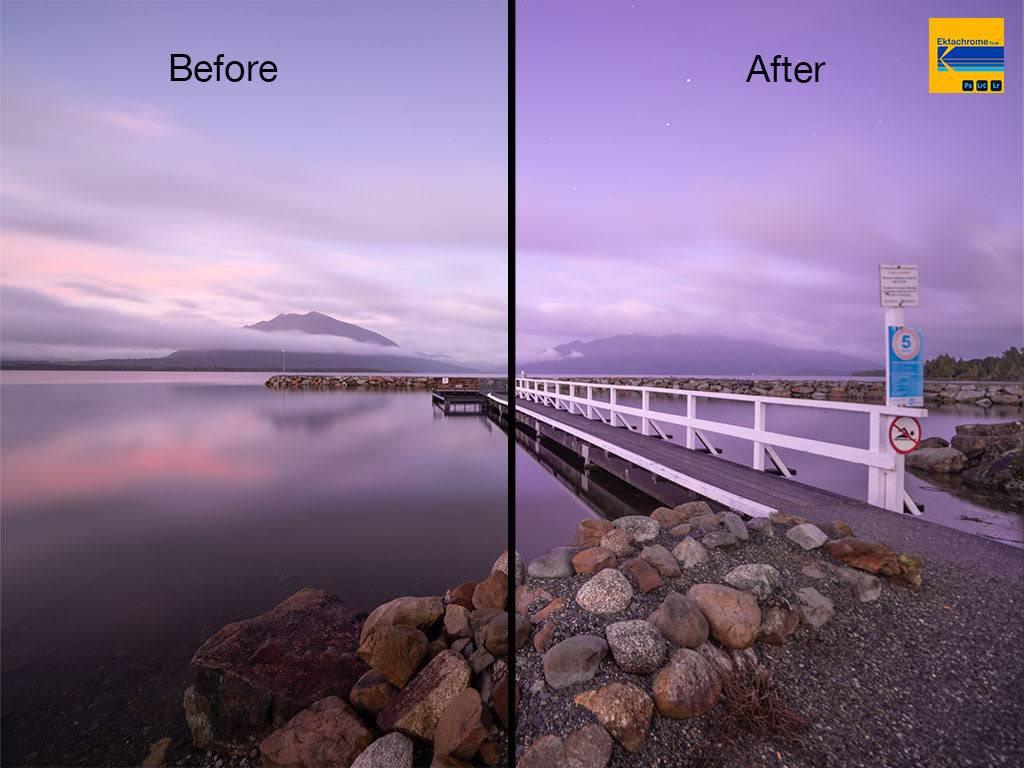
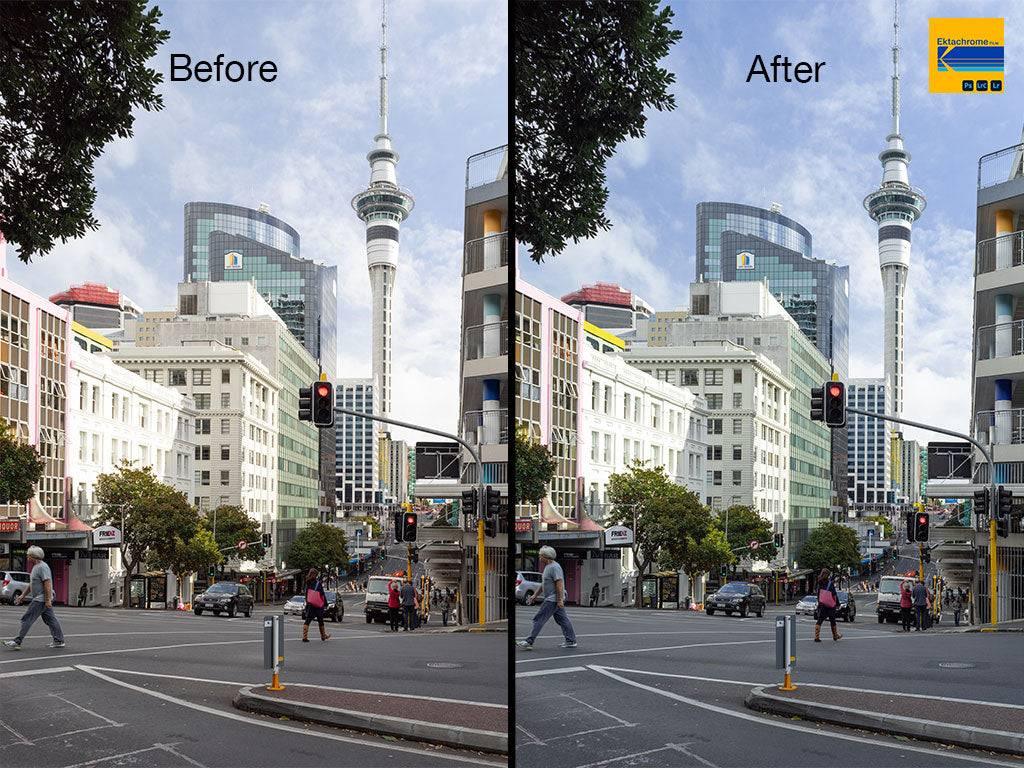
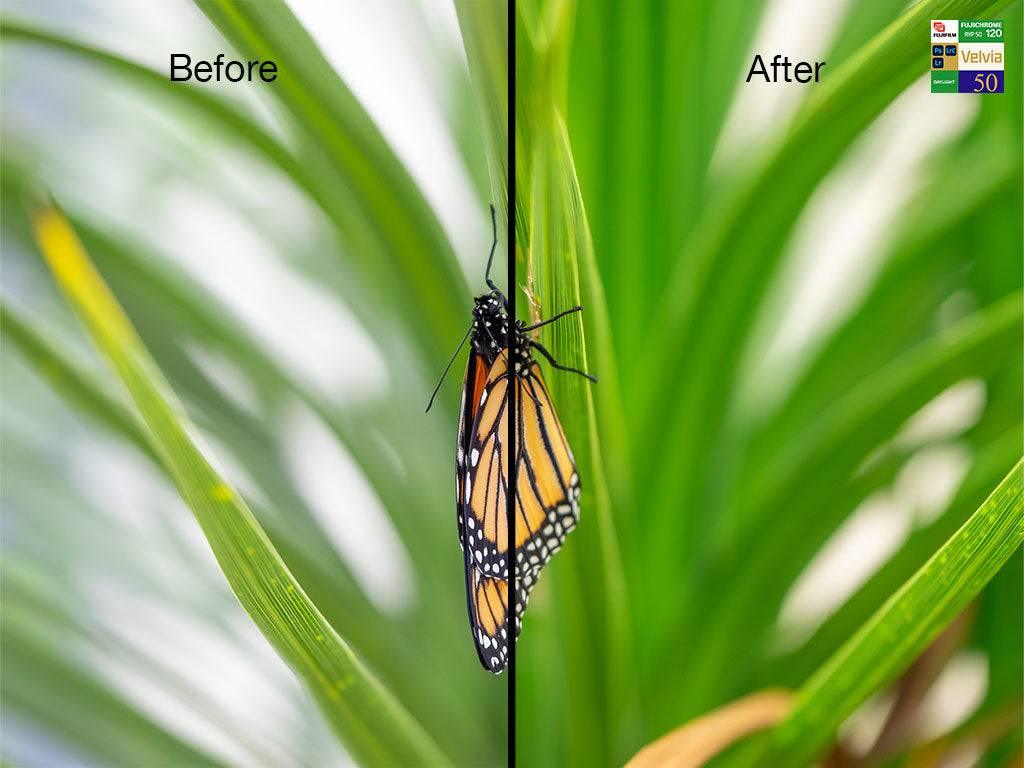
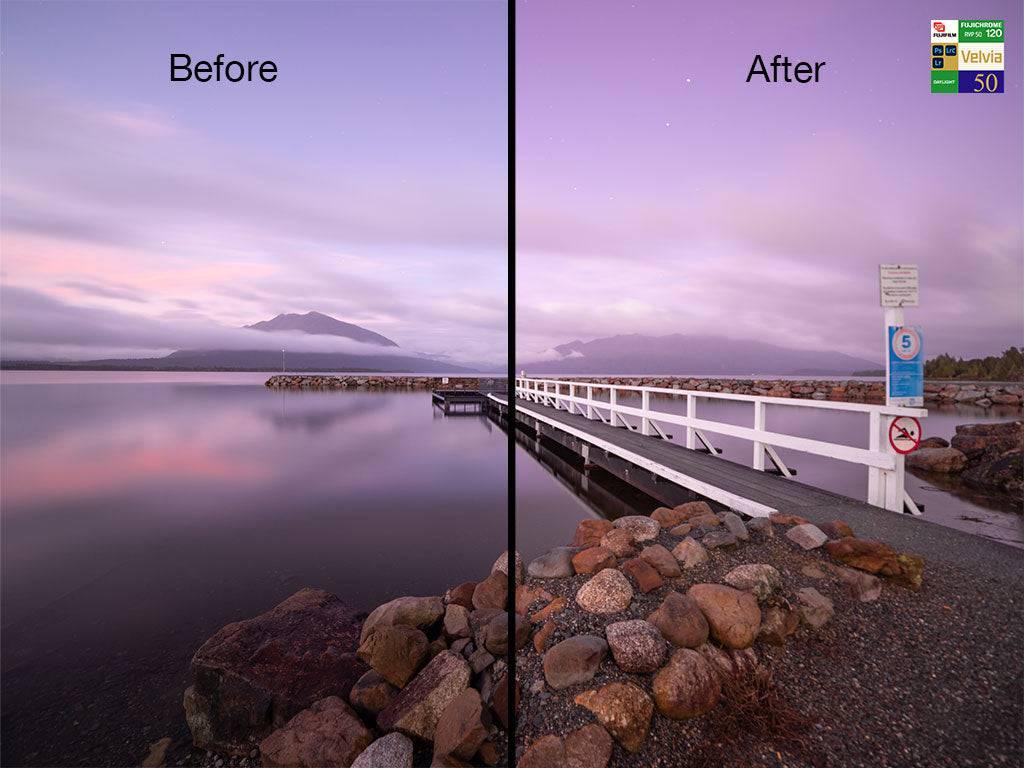
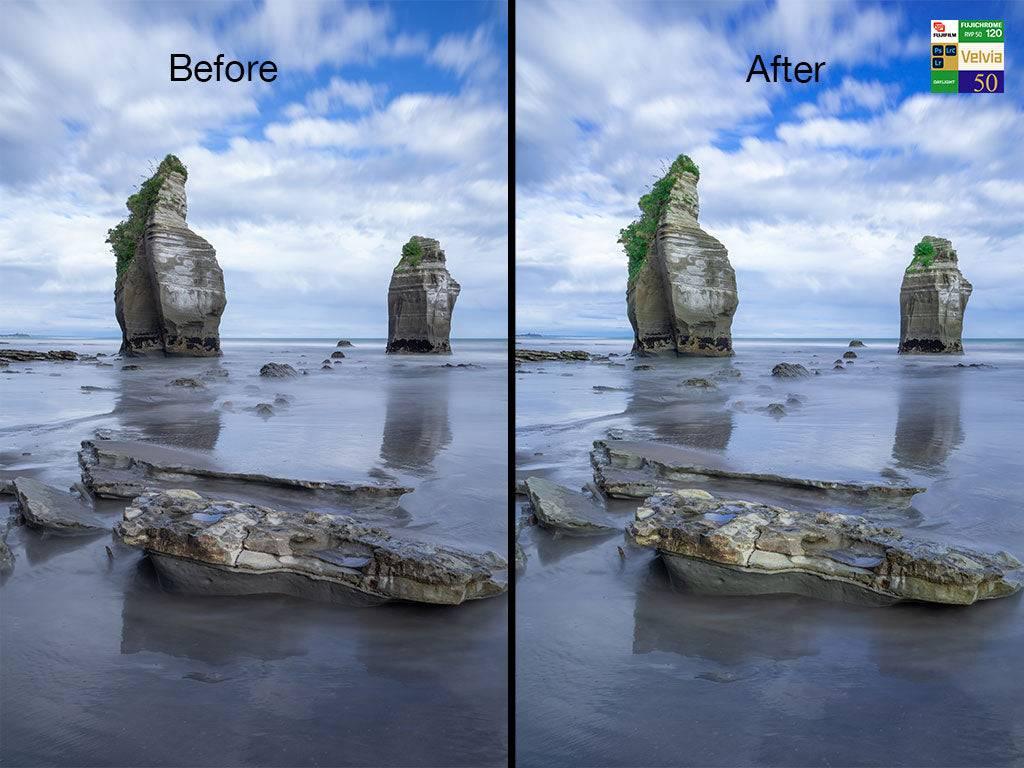
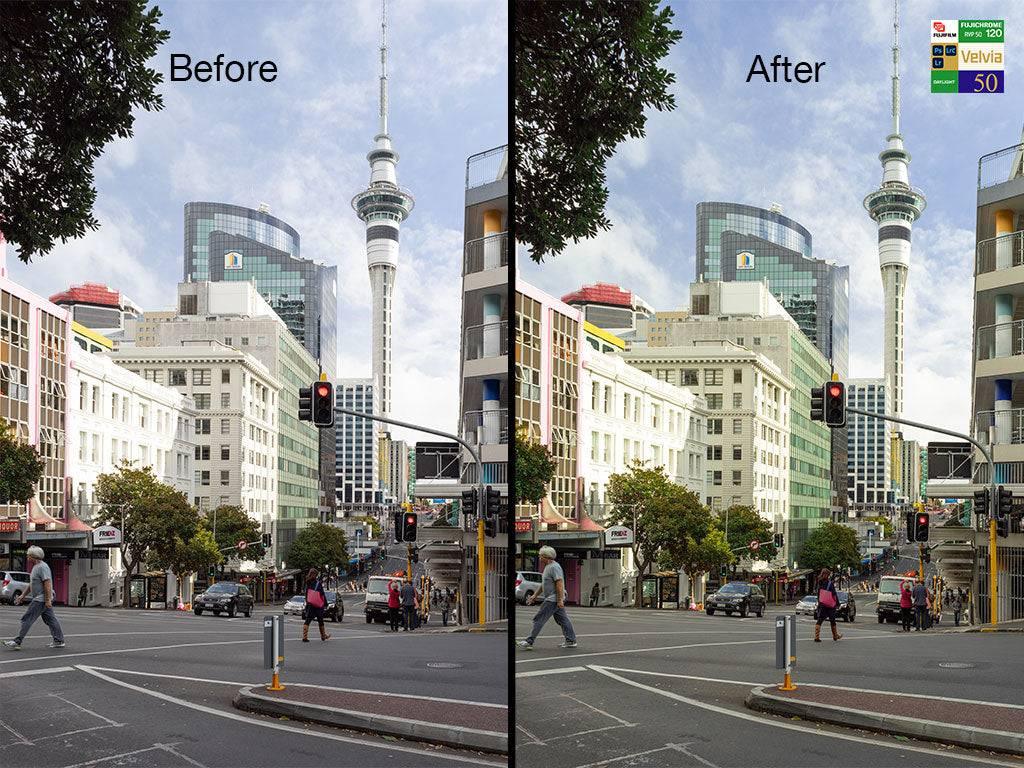
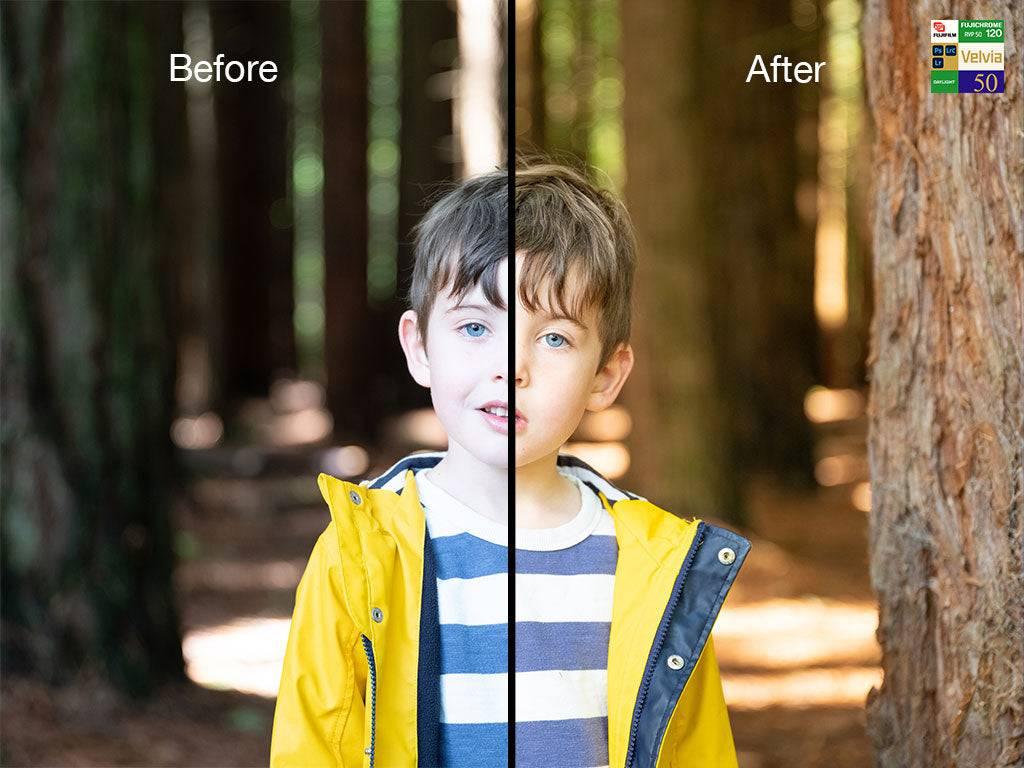
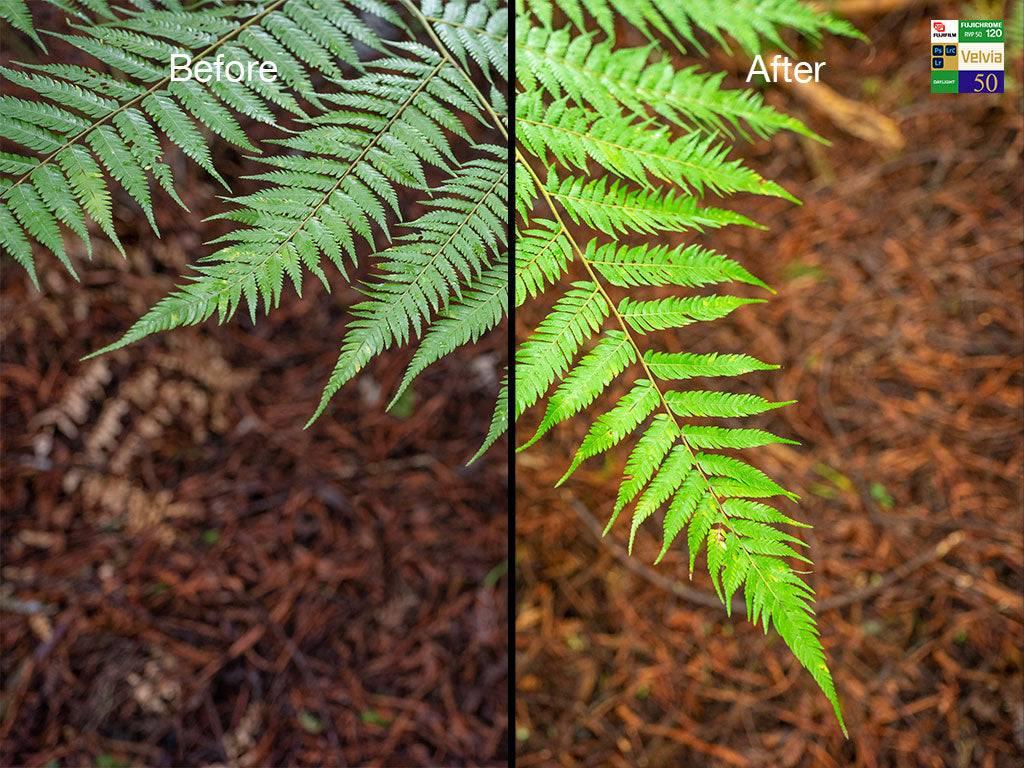
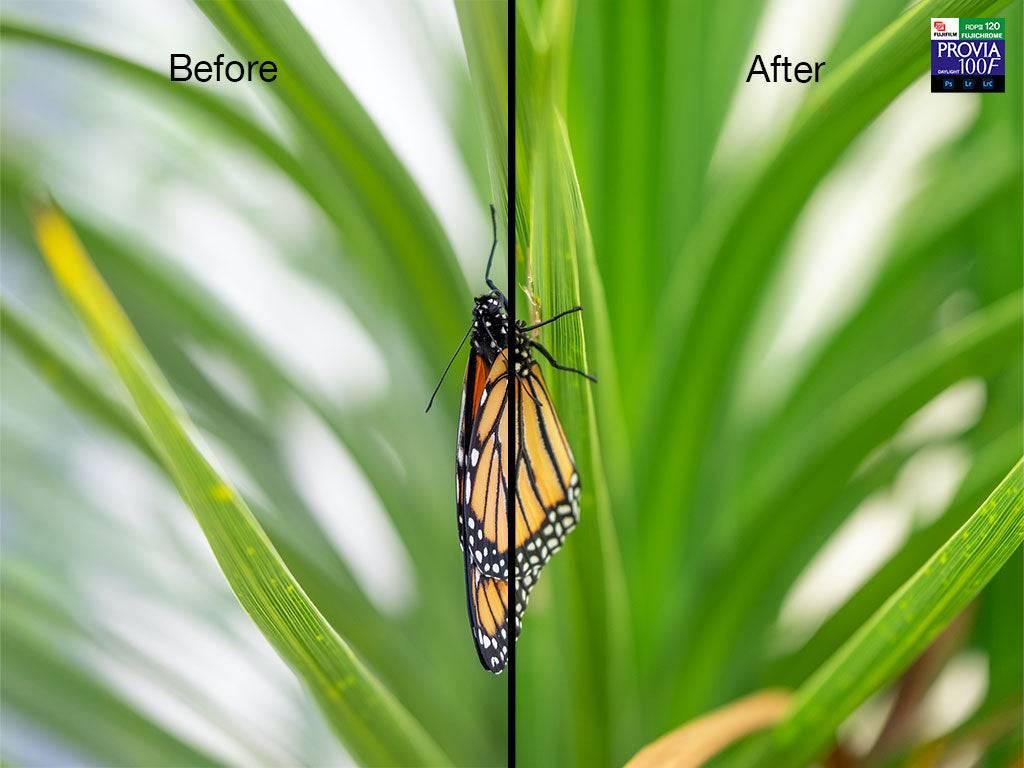
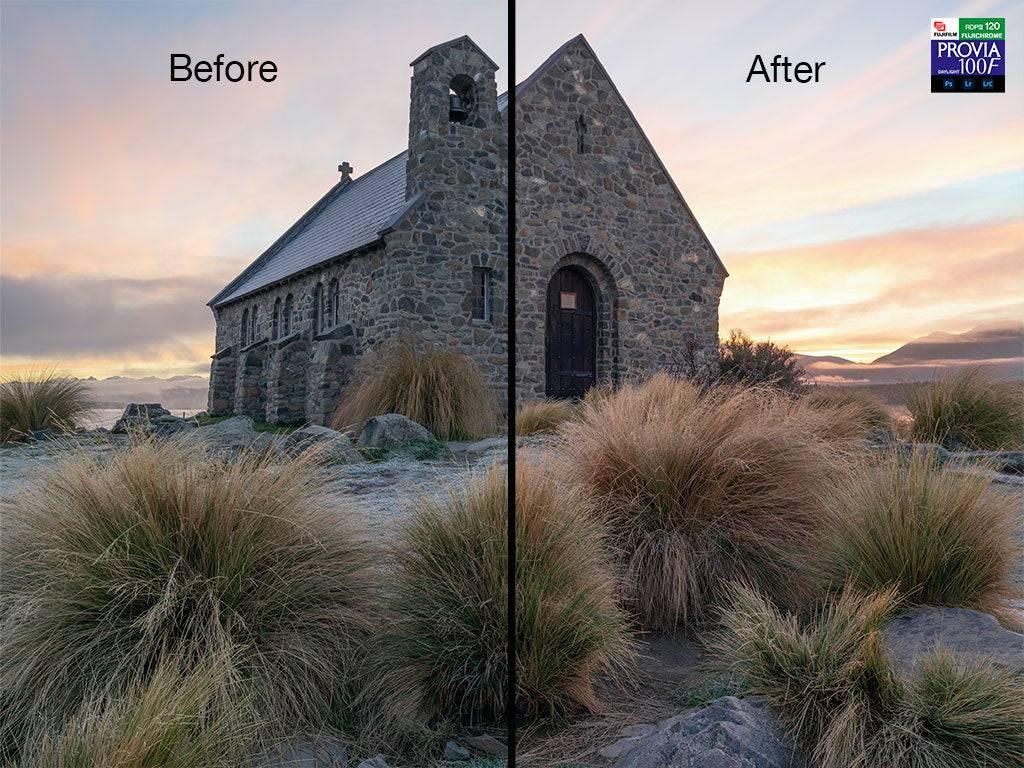
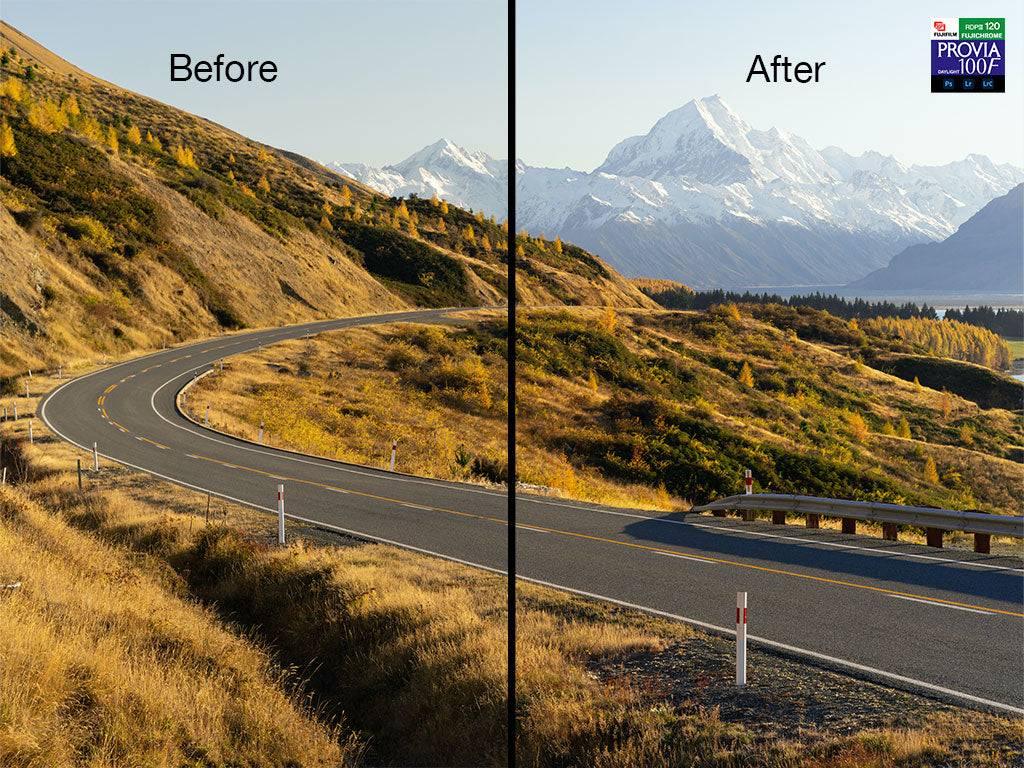
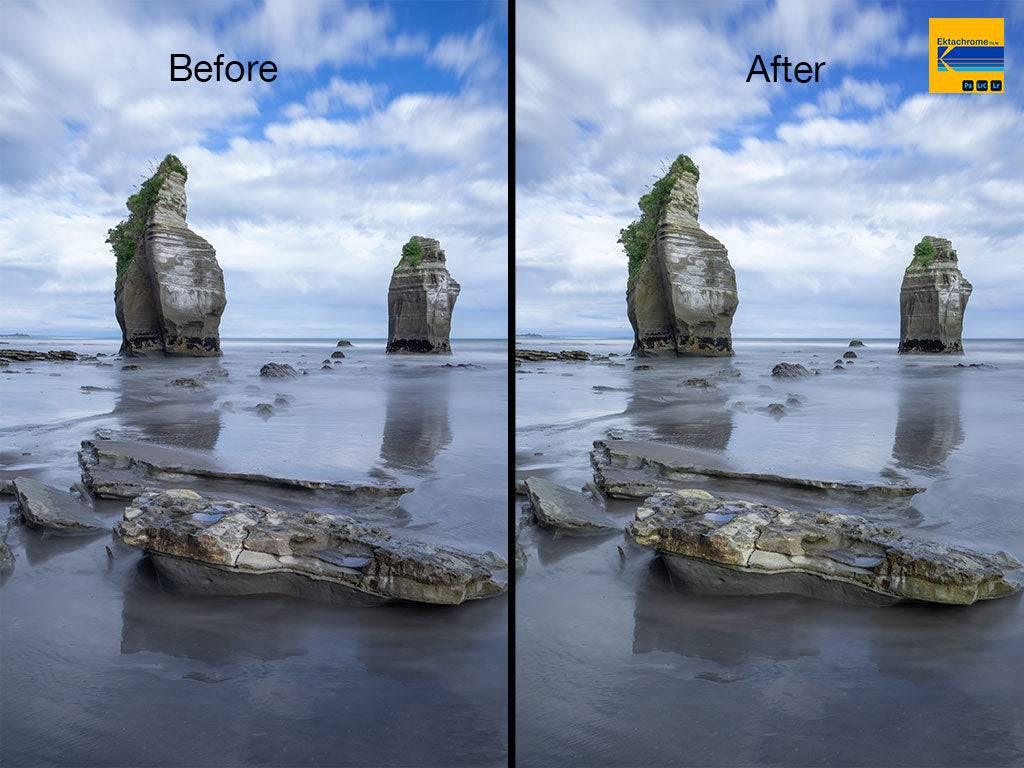
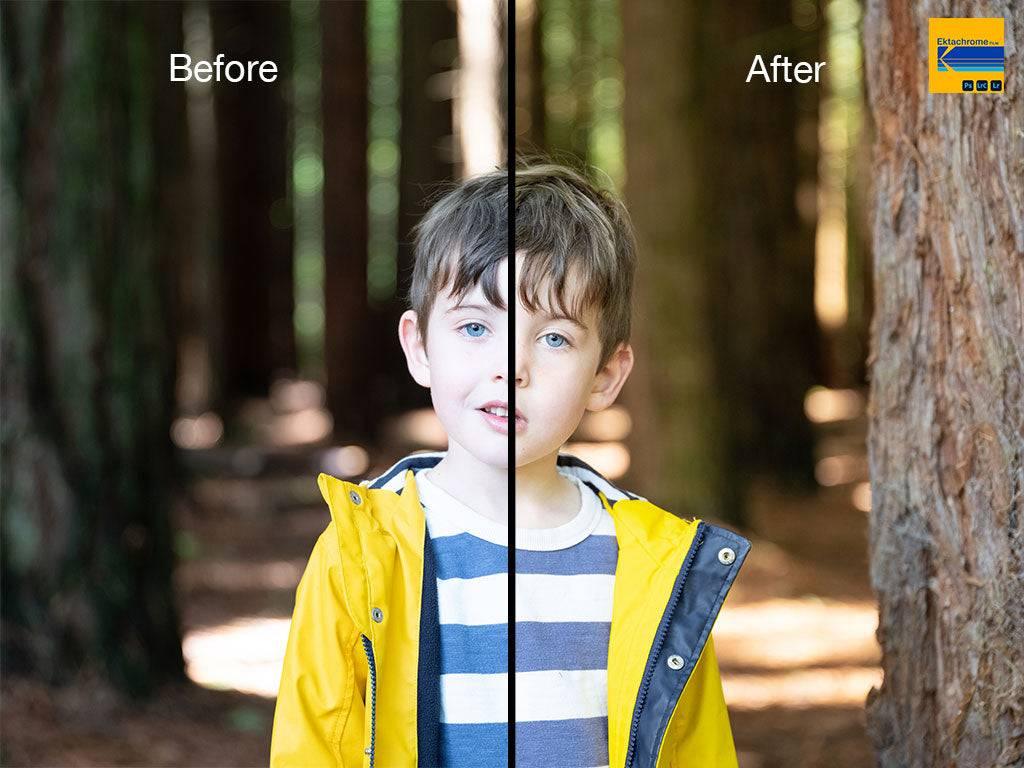
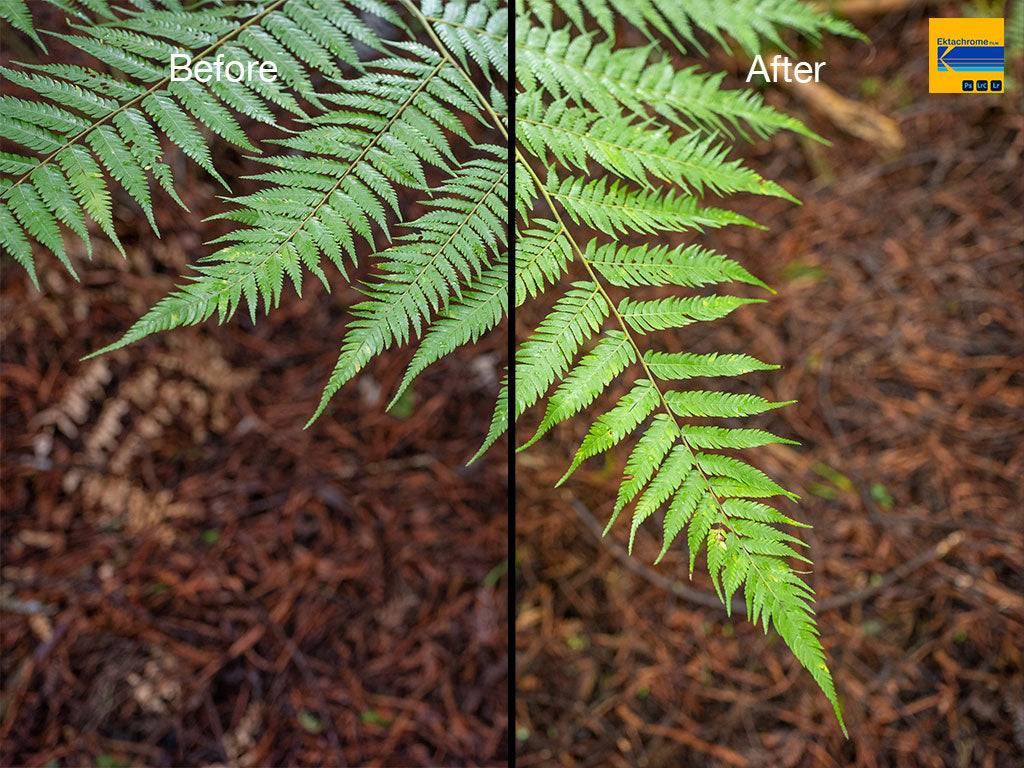
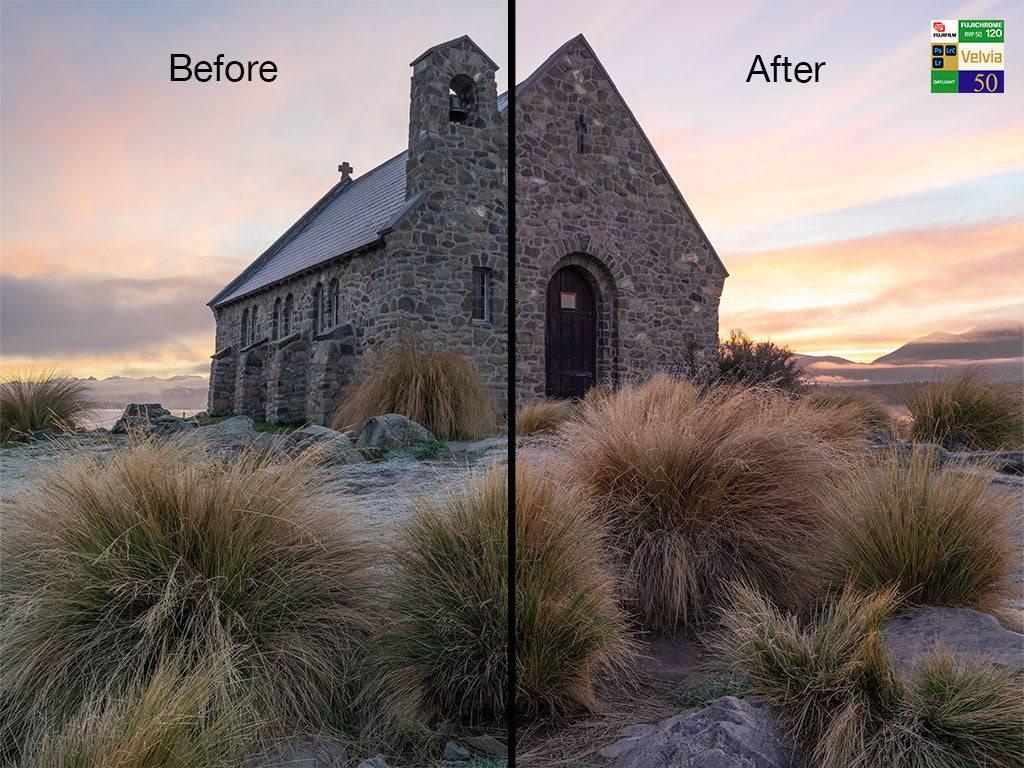
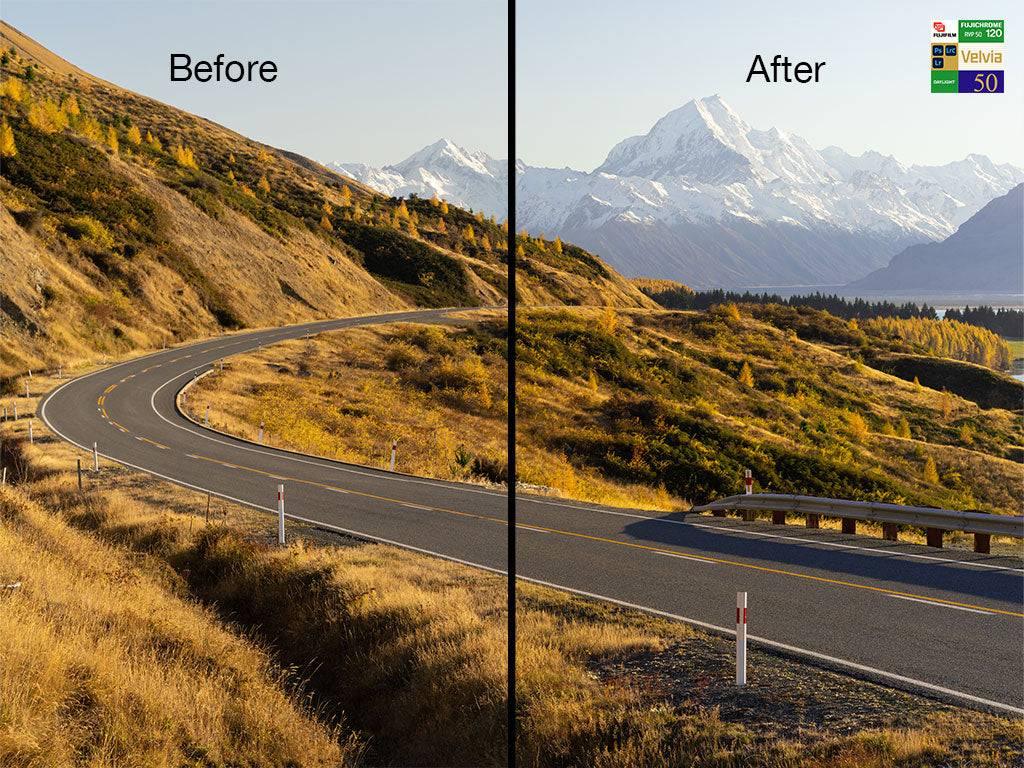
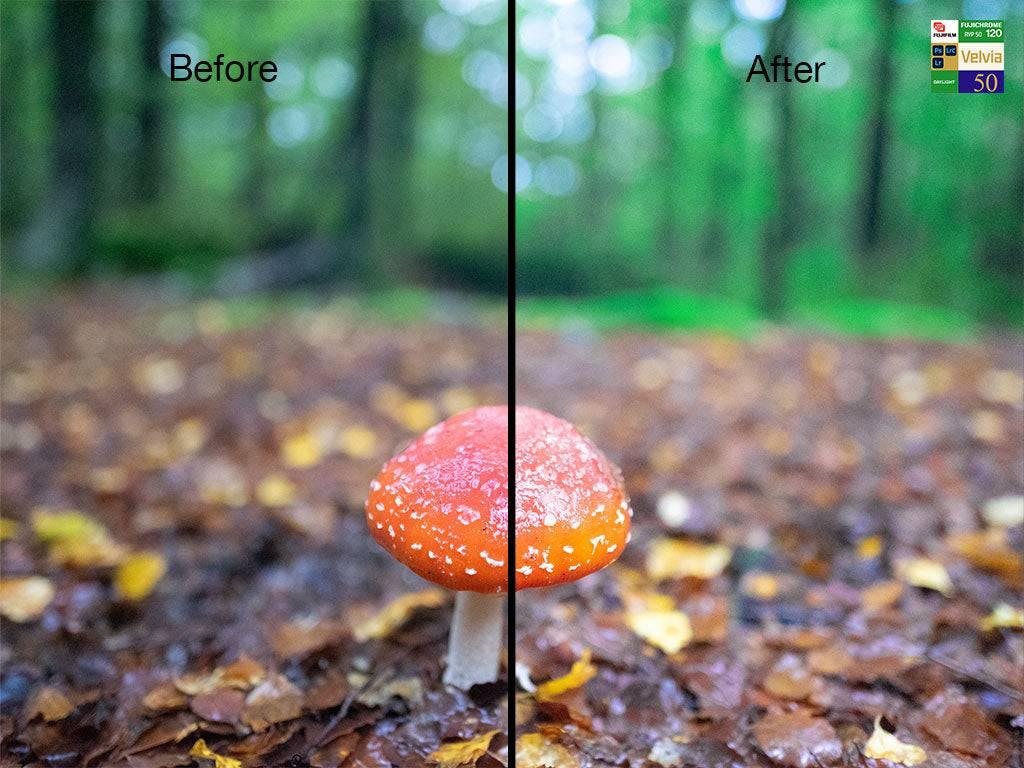
If you have dreamed of creating beautiful colour photographs that replicate the colours of traditional slide film, then you have found the best Photoshop and Lightroom presets. My premium custom made Photoshop and Lightroom slide film presets are made with IT8 colour targets for accurate colour replication. The preset will apply a colour profile to your photos that replicate slide film stock, using Photoshop and Lightroom. You do not need to worry about colour in your photographs anymore. Purchase these preset and enjoy the beautiful colours of Velvia, Provia and Ektachrome film in your photos. The presets have been tested on Nikon, Canon, Sony and Fujifilm RAW files.
INSTRUCTIONS
IMPORTING THE PRESET INTO LIGHTROOM AND LIGHTROOM CLASSIC
Once you have downloaded the preset, open Lightroom or Lightroom Classic and click File -> Import Profiles and Presets, and import the downloaded XMP file. The preset will import into Lightroom and Lightroom Classic. The preset can be viewed by selecting Presets -> User Presets in the Develop module.
EDITING WITH THE PRESET IN LIGHTROOM AND LIGHTROOM CLASSIC
Step 1 - Make corrections to your photo with the aspect ratio, spot removal, lens correction, and transform tools as required.
Step 2 - Apply the preset.
Step 3 - Check for colour cast and adjust the white balance to suit your taste. (Note - slide film has a blue colour cast, and adjustment of the white balance will correct this. Use auto white balance or the white balance selection tool)
Step 4 - Adjust Basic Tone settings to suit your taste
Step 5 - Check colour saturation suits your taste. If adjustment is required, use the HSL Saturation slider to reduce or increase individual colour saturation. (Note - Adjustment of the Hue sliders will change the colours away from the IT8 colours.
Step 6 - Make Contrast, Tone Curve, Detail, Brush, Filter and Radial adjustments as normal.
EDITING WITH THE PRESET IN PHOTOSHOP
Step 1 - Open Photoshop and open your RAW file. Click on Filter and choose Camera Raw Filter.
Step 2 - Make corrections to your photo with the aspect ratio, spot removal, lens correction, and transform tools as required.
Step 3 - Click on More Image Settings (...), then Load Settings and select the XMP file, then press load.
Step 4 - Check for colour cast and adjust the white balance to suit your taste. (Note - slide film has a blue colour cast, and adjustment of the white balance will correct this. Use auto white balance or the white balance selection tool)
Step 5 - Adjust Basic Tone settings to suit your taste
Step 6 - Check colour saturation suits your taste. If adjustment is required, use the HSL Saturation slider to reduce or increase individual colour saturation. (Note - Adjustment of the Hue sliders will change the colours away from the IT8 colours.
Step 7 - Click OK
Step 8 - Make Contrast, Tone Curve, Detail, Brush, Filter and Radial adjustments as normal.